Happy Monday!
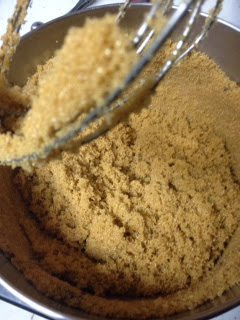
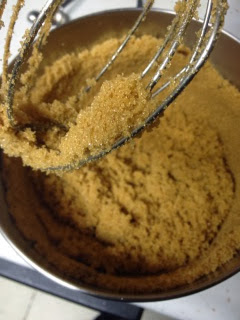
Look at this....I mean it, look closely at the above creamy goodness. I was a little skeptical when one of my favorite co workers told me that she makes yogurt for her family every week, I had never thought about doing such a thing but was very eager to give it a go! I followed her instructions but failed miserably! I told her what happened the following morning and we realized the only missing piece was the proper temperature of the milk! I believe that I was so worried about not killing the yogurt cultures that that I let the milk cool off way too long. My friend and I recreated her recipe together and I brought my thermometer along to be safe, needless to say I haven't made the same mistake and have been enjoying homemade yogurt for the last four years. Let me show you just how easy it is to make your very own greek yogurt!
You are going to need a few things:
1 Gallon of milk, I use 2% hormone free organic milk but please use whichever suits your taste but please be cautious about using skim/fat free, I think that the lowest you should go is 1%..
1 Dutch oven with a lid
1/2 cup of the plain yogurt that you wish to use, Greek, regular, Skyr, it's all up to you
2 Colanders, 2 plastic bowls and large coffee filters (I know..it sounds weird now but trust me...it will make sense later.)
1 to 2 clean containers to store your yogurt
1 thermometer, plastic or glass cup measure and a rubber spatula
1 large clean bath towel or a throw/blanket
About 20 minutes to prepare the yogurt and 10-12 hours to set up
Pour the milk into your Dutch oven and place on the stovetop. Turn the heat to just under medium high, this temperature is just fine, especially since we are going to cover the pot with the lid to make this process a little faster.
Place the lid of the Dutch oven in such a way to leave just a little room for steam to escape and so that you have a bit more control. You don't want the milk to come to a boil, you want it to begin steaming a little. I would suggest setting a timer for about 8 - 10 minutes and add more time as needed. Don't stray too far from the stove, I had a few extra things going on while I was heating up the milk and the temperature got away from me...
So..yeah, this self imposed nonsense really happened!! 205.7 degrees!!!! I needed the temp to be in the range of 122-125 degrees, I had to wait over 30 minutes for the temperature to drop. I used a timer and stayed in the kitchen next to the stove to make up for my mistake.
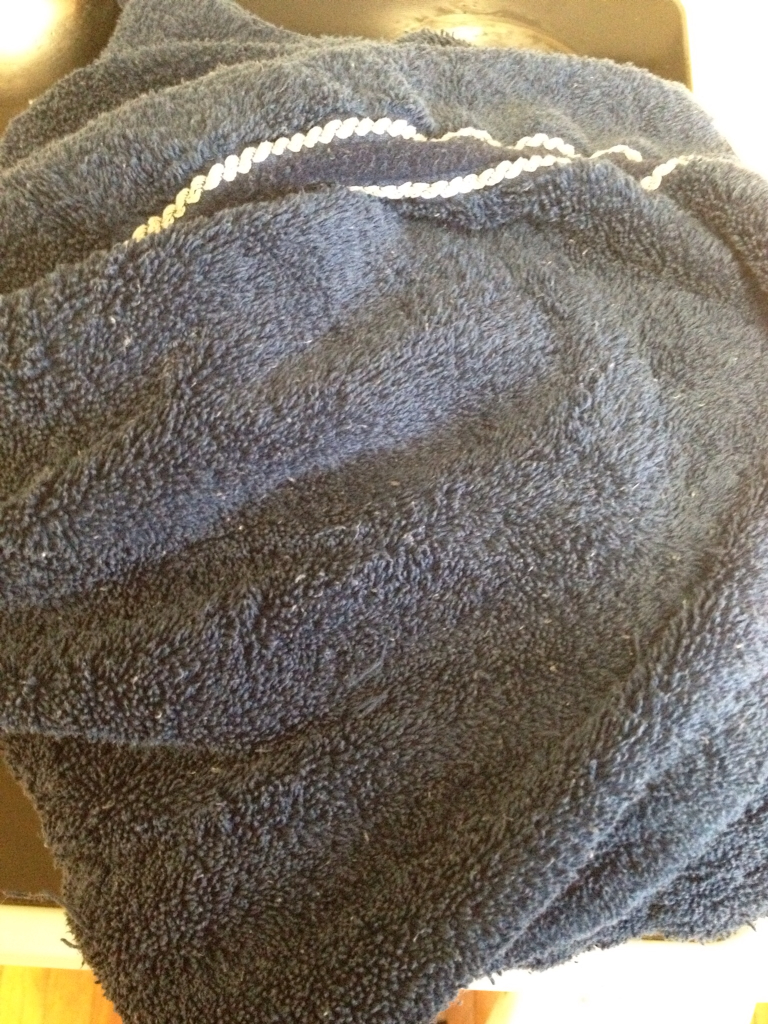
After the temp finally dropped to about 123 degrees I added the reserved yogurt and gently stirred it into the milk with spatula. I then covered the Dutch oven with the lid and carefully wrapped it up with a large bath towel.
I wrapped it in a towel to protect the pot from a temperature change and to keep it sort of toasty, you know that all good bacteria needs a warm environment and a fair amount of time to do its thing! I always leave my wrapped parcel of goodness on the stove, on one of the back burners, write down the time that I set it aside and set the alarm on my phone for 10 hours when the temperature outdoors is set on humid,hot, and ridiculous! When the alarm goes off I am greeted by this beautiful sight:

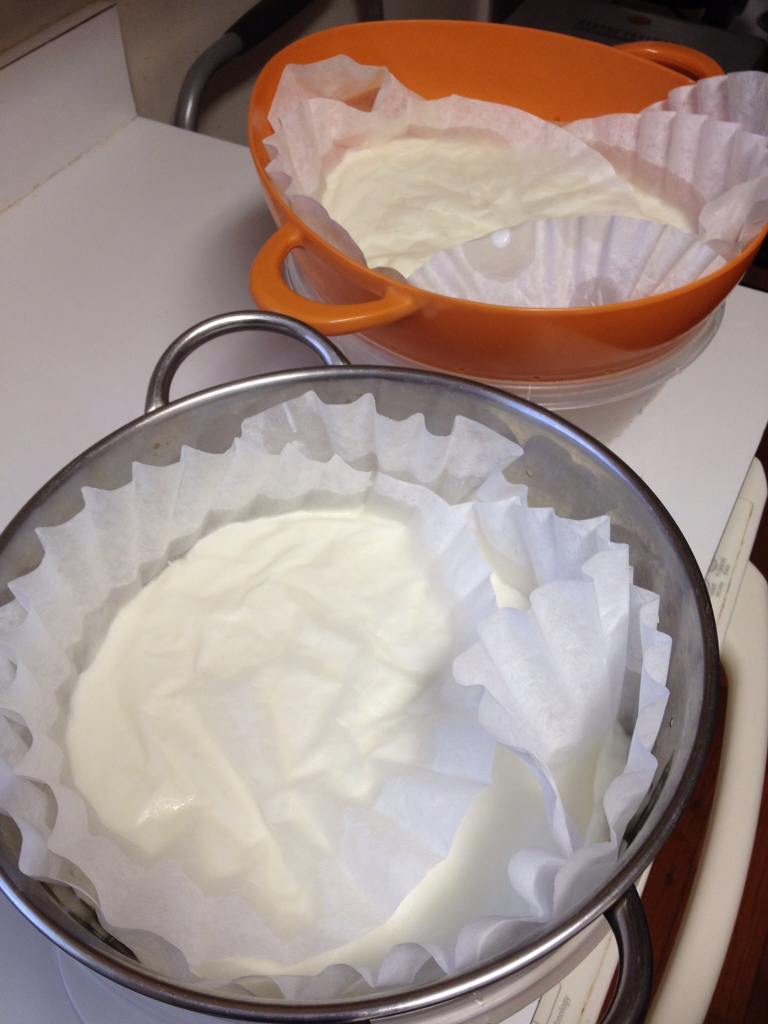
This is a Dutch oven filled with the more than a few bowls, smoothies, and even a small batch of frozen yogurt but I first need to put the lid back on and put it in the fridge for about 12 hours. After the yogurt has chilled for at least 12 hours I will set my yogurt to strain which will give me the ultra creamy and very thick texture I am craving, I have to strain away as much liquid whey protein as possible. I first place the colanders into their respective plastic bowls and I make sure that the colander isn't flush with the bowl, I need to keep the liquid away from the yogurt. I then line the colander with coffee filters and use the cup measure to fill the lined colander being careful not to fill it too much.
Cover the top of the yogurt with a coffee filter, then cover the colander with plastic wrap and place the yogurt into the fridge for 6-8 hours, it depends on just how thick you would like the yogurt to be.
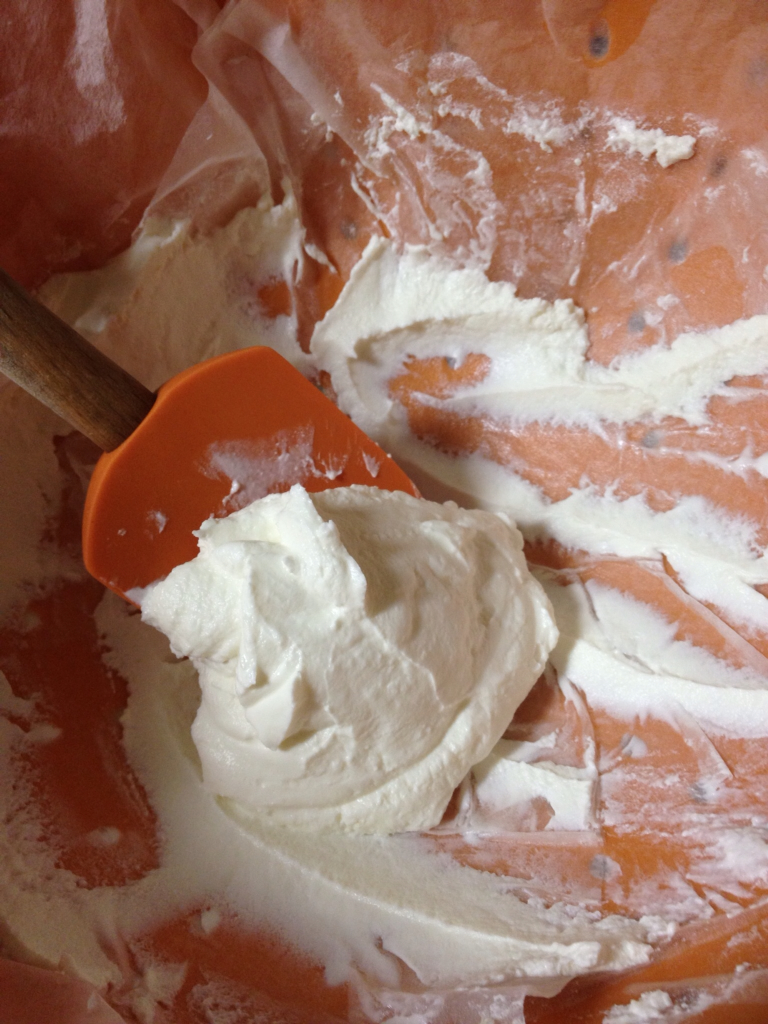
I like my yogurt EXTRA THICK so I always go for the 8 hour strain and I am left with this:
Use your spatula to very carefully move your yogurt to your clean and patiently waiting empty containers...
This yogurt tastes unlike any plain Greek yogurt I have ever had, it actually tastes sweet! You can see that my containers recently held store bought yogurt, there's an easy explanation for that, every now and again "someone" eats all of the yogurt without setting aside any yogurt for the next batch. This will last just over a week between two people, you can easily cut this recipe in half and adjust the time frame (10-12 hours) to suit the season.
What to do with all of the leftover liquid whey protein? I will take care of it later, I think that I will make a small bowl for myself right now! Have a great day!